Integrating your Dext Prepare and Xero account will ensure that receipts, invoices and other paperwork are extracted and formatted in the perfect way for your end-to-end financial process.
Integrating the platforms will;
- Sync the Chart of Accounts, Suppliers, Customers, Tracking Categories, and Payment Methods between the two softwares.
- Activate the ‘Publish’ button, which sends your Dext Prepare items directly to Xero.
Linking Xero and Dext Prepare
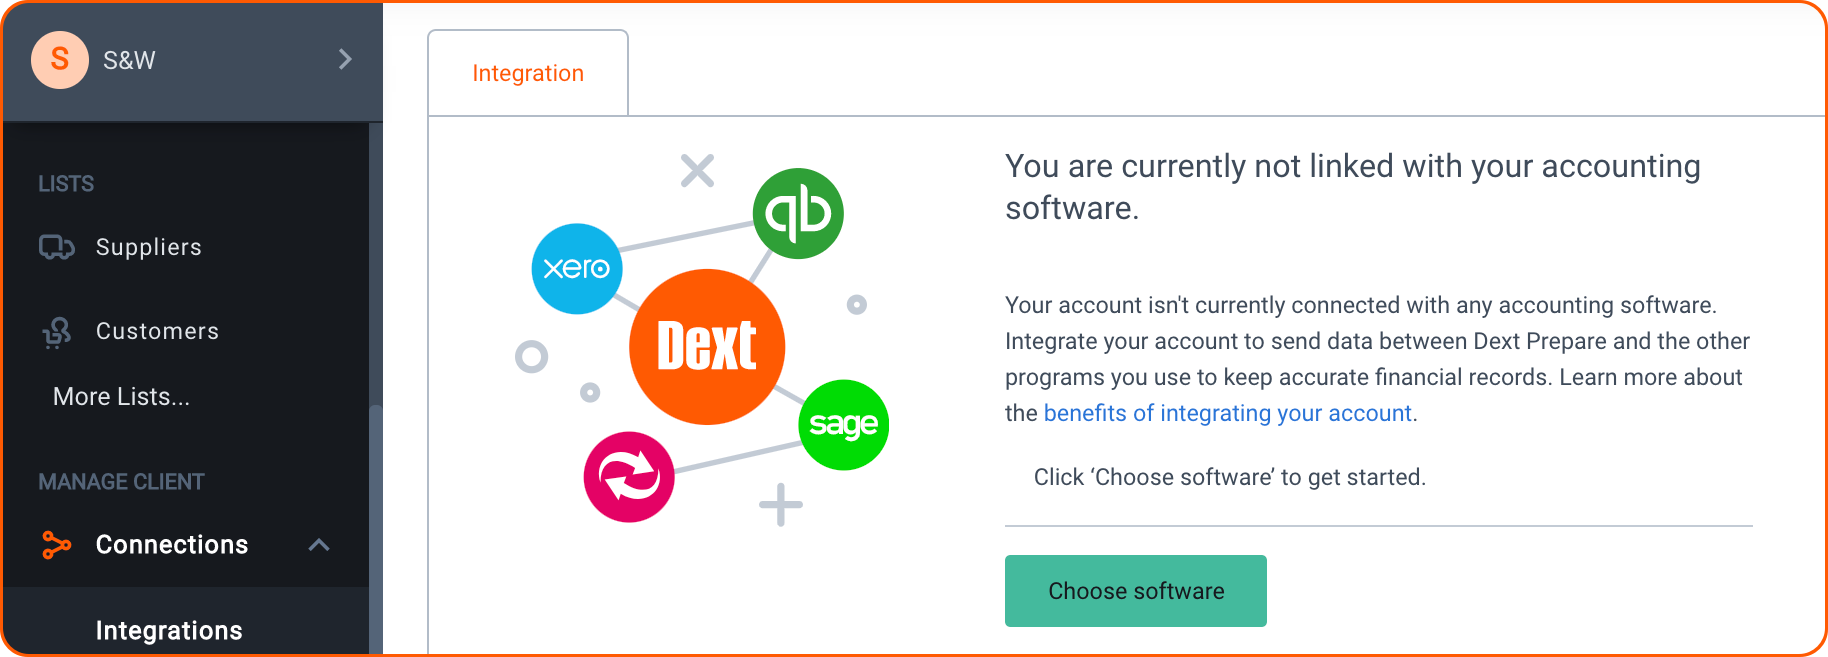
- Navigate to the Connections section of the menu.
- Click on Integrations.
- Click ‘Choose Software’ and select Xero
- Follow the on-screen instructions to authorize the integration.
- The integration is now complete. Your Chart of Accounts will now be available to view on the Categories page in the Lists section.
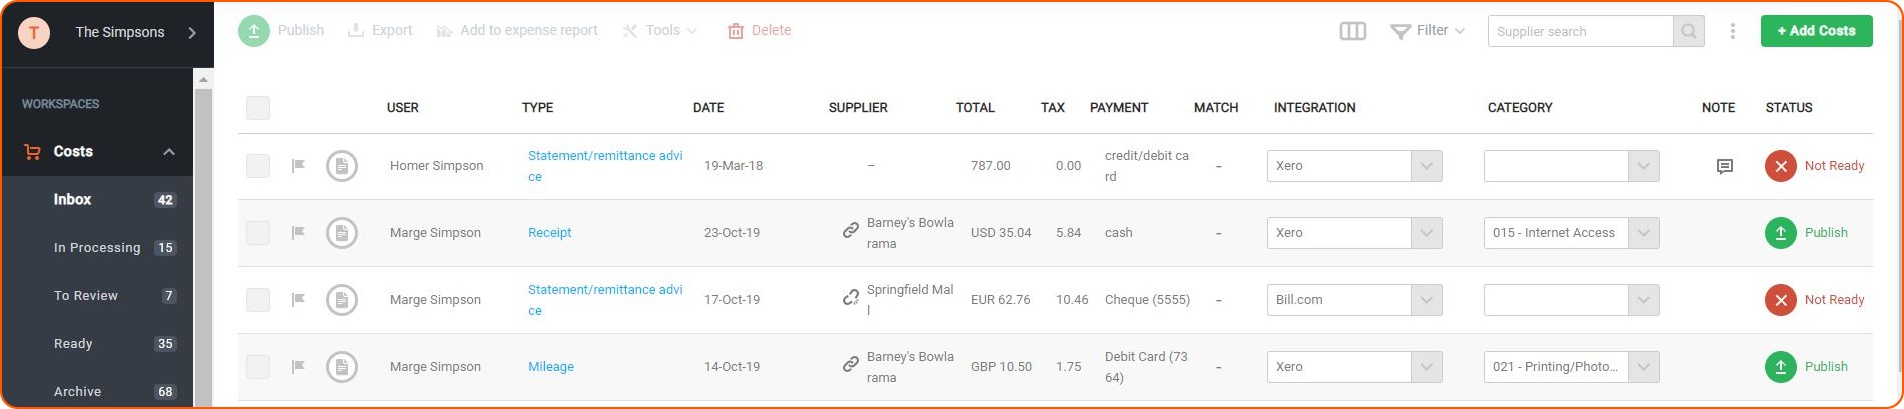
Publishing
Once you’ve submitted an item to Dext Prepare, it will be processed and presented in the inbox of the Costs or Sales workspace.
You can then publish the item to Xero by pressing the green ‘Publish’ button beside the item.
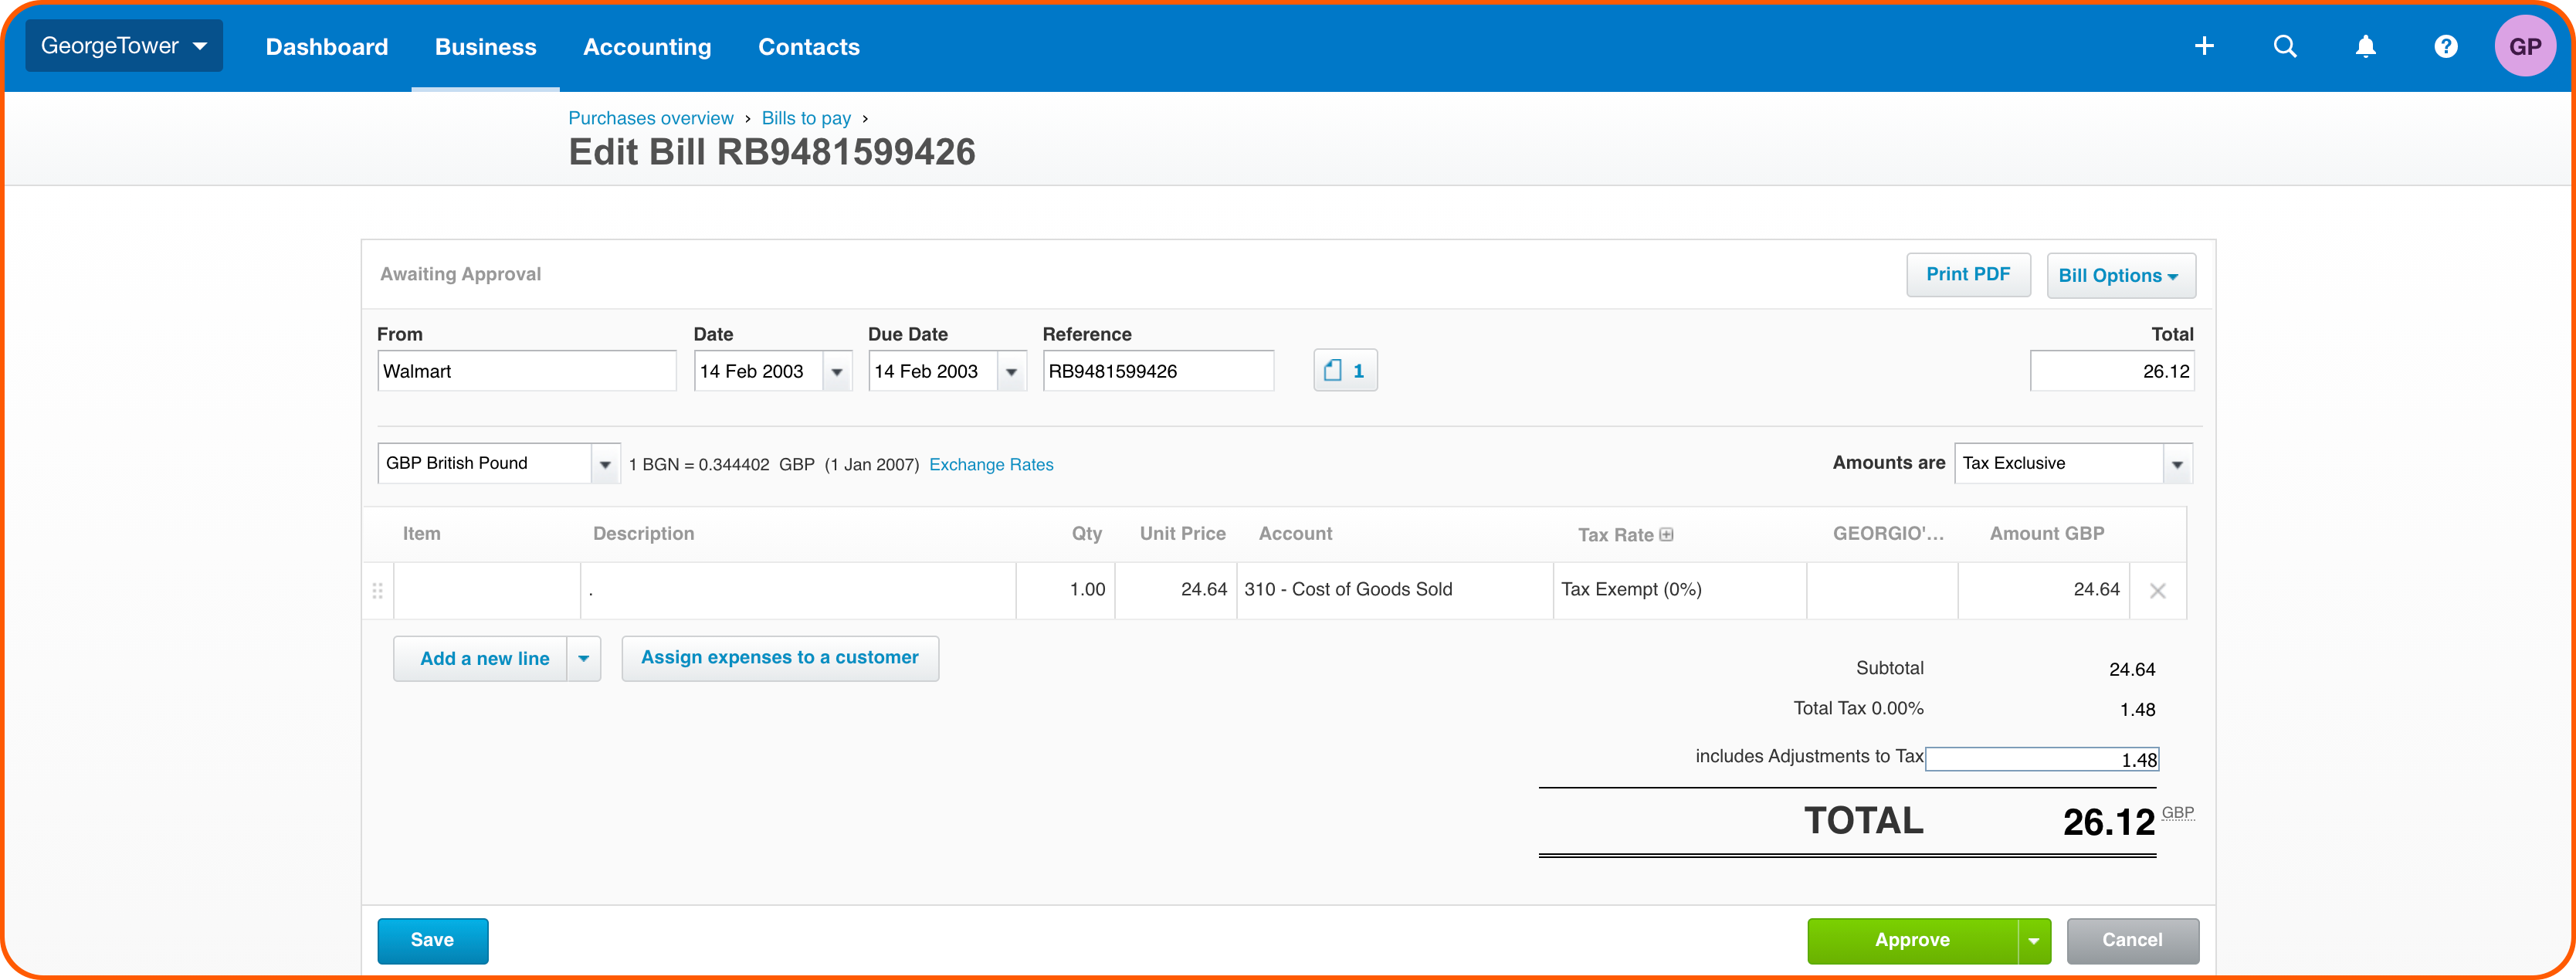
Items will be published to:
- Purchases
- Classic Expense Claims [For Streamline, Optimize, Business Plus, Premium and Enterprise Users]
- Bank Accounts [For Streamline, Optimize, Business Plus, Premium and Enterprise Users]