Use Fetch to automatically collect your bills and invoices from supplier websites.
This means that you don’t have to spend any more time logging into websites, finding your documents and downloading them. Instead, Dext Prepare will automatically check each of your authorised suppliers once a week and add any new documentation straight to the inbox.
Note: Bank Fetch is currently only available in Australia. For more information about Bank Fetch, please contact your Account Manager.
How to:
Fix incorrect log-in credentials error
Send a request for your client to connect to a supplier
How to set up a Fetch connection
- Click Connections in the sidebar menu and select either Costs or Bank:
.png)
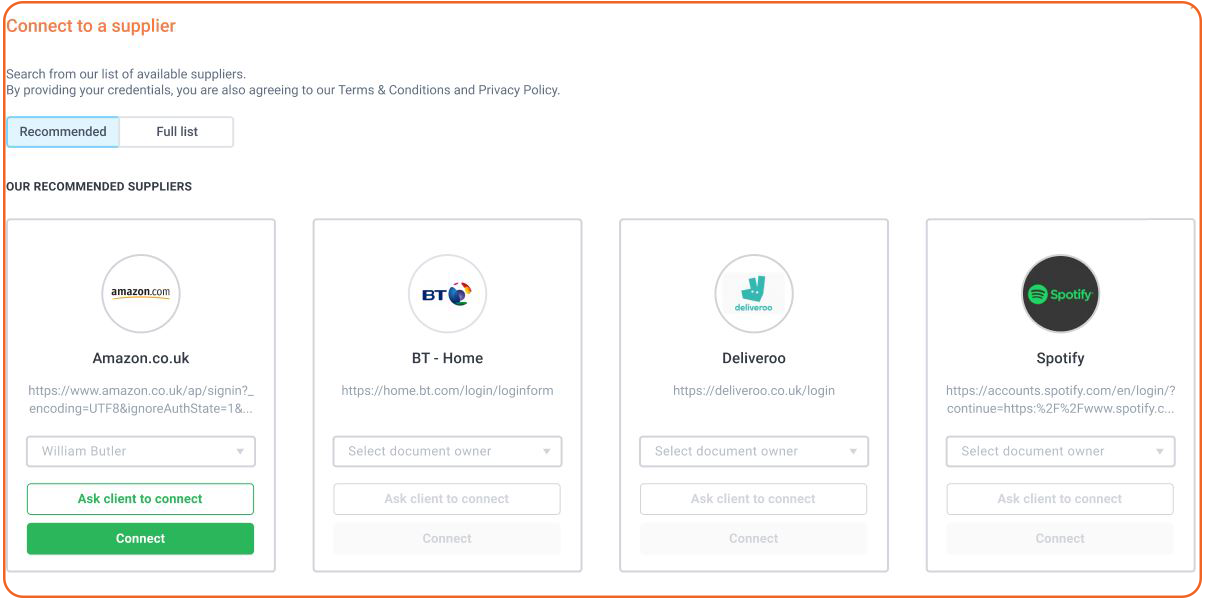
- Click Full List and use the search bar to locate suppliers and banks to connect to Fetch (or browse our full list of supported suppliers ). Please note that the recommended suppliers are popular connections globally and not specifically generated for you.
.png)
- Use the login details for the supplier portal to authenticate the connection (if you’re an Accountant or Bookkeeper setting up Fetch for a client, you will need to use your clients’ login credentials, or send a request to your client to connect by following these Instructions
- Select whether to import all historical documents hosted on the supplier portal, or the date range that you select.
- Click Connect to start the connection process:
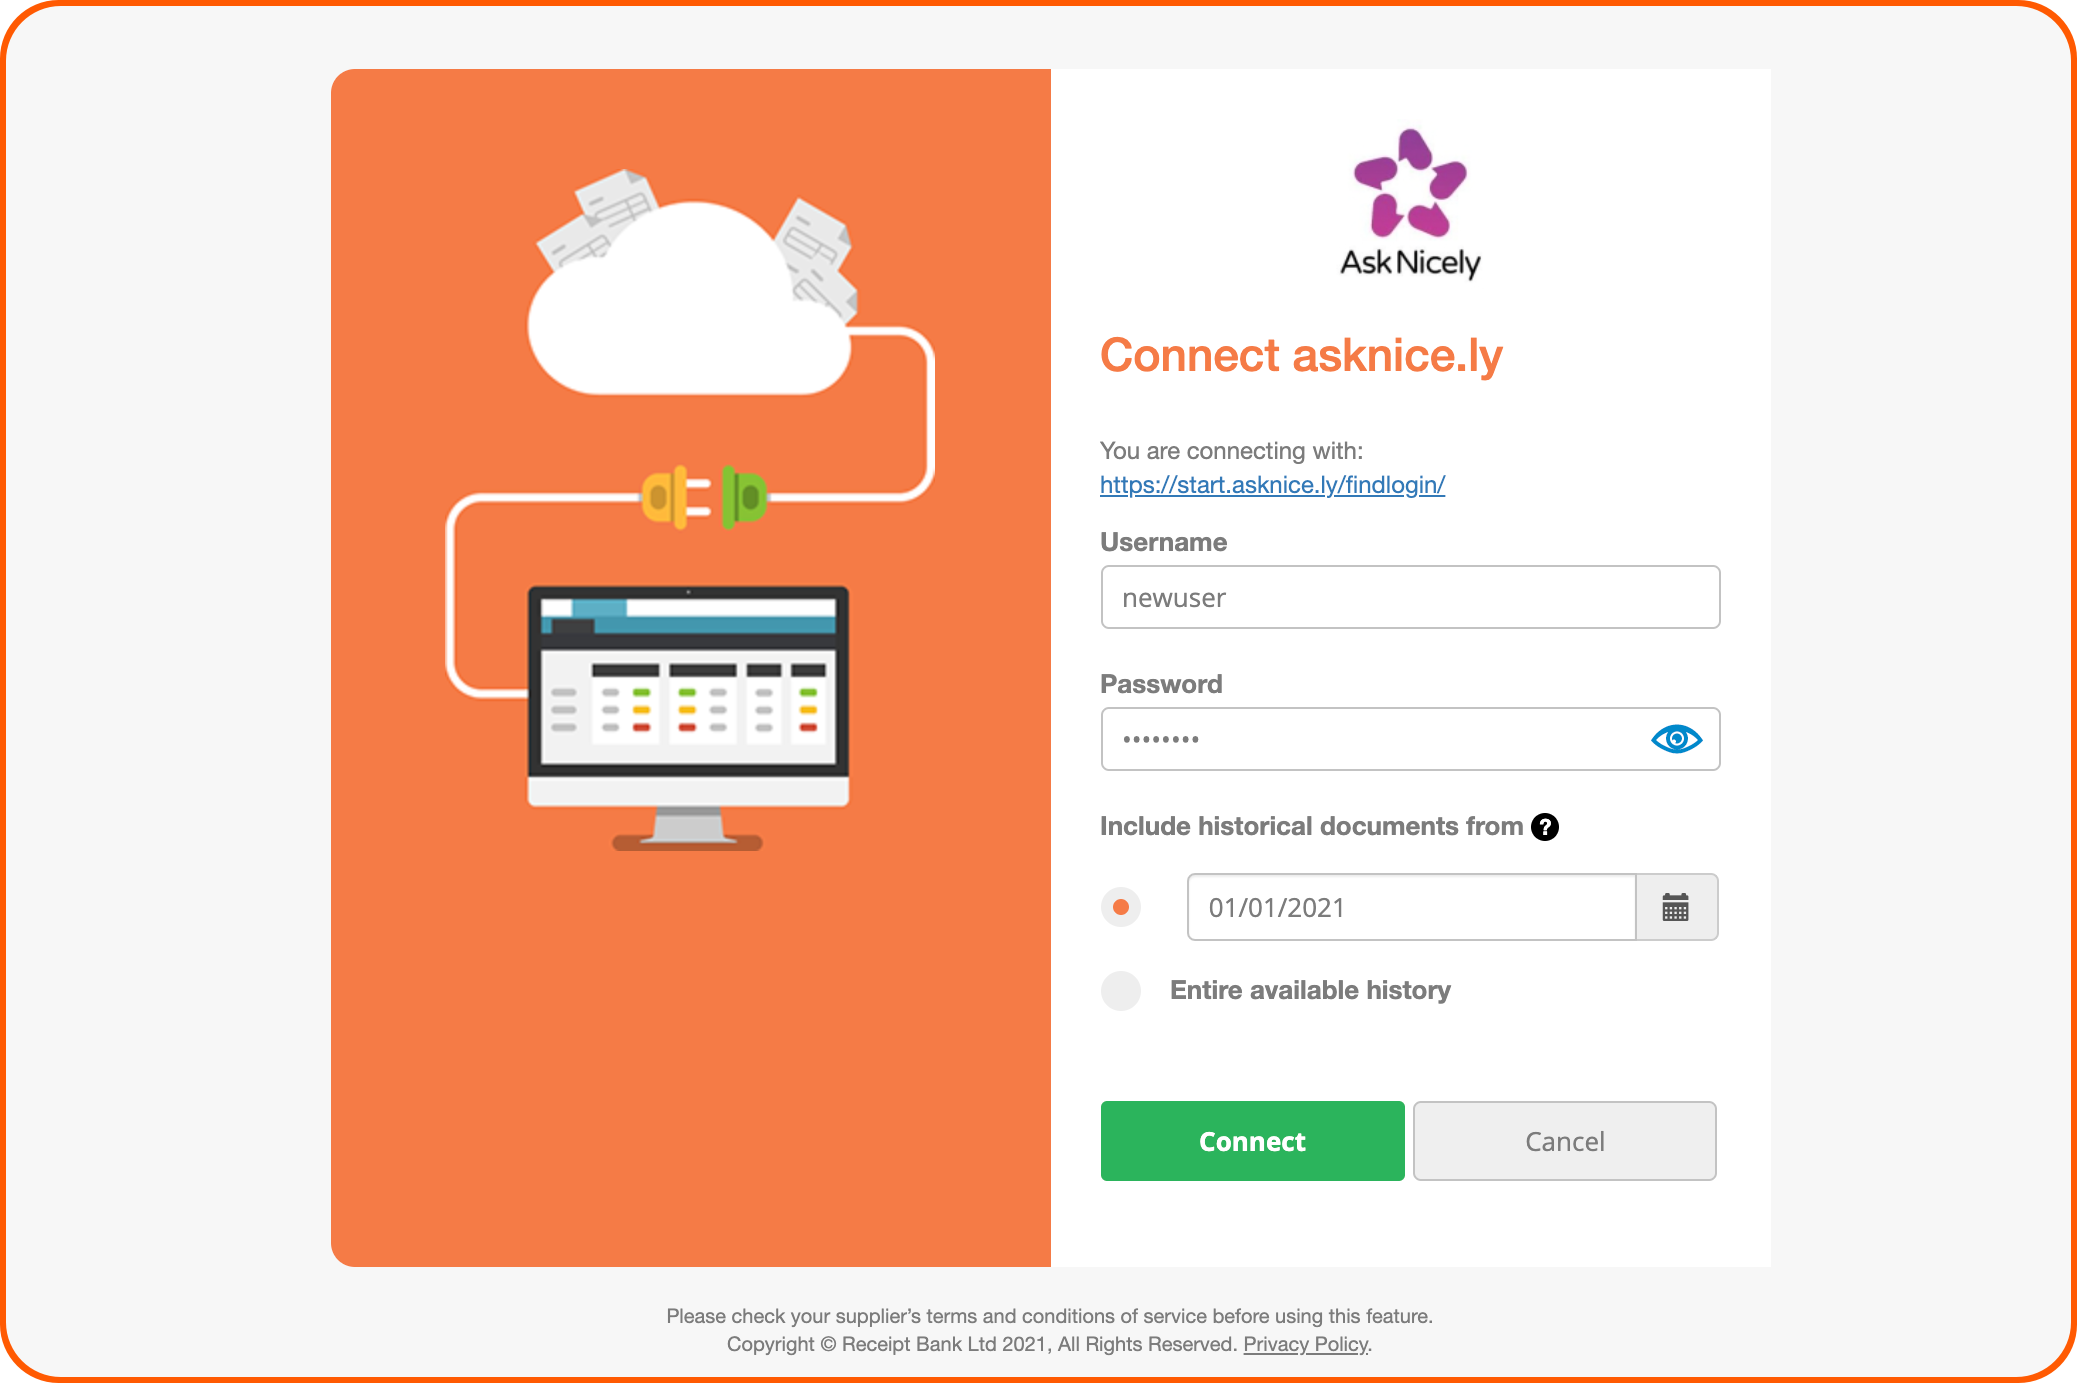
- A popup will ask you to keep the tab of your browser open while Dext Prepare completes the connection. You can continue to use the Web App in another browser tab while this takes place.
- If Two-Factor Authentication (2FA) is required, another popup will prompt you for the additional information. This is usually an SMS or email message with a one-use code. Enter this and click Send.
.png)
- Once successful, you will return to the Connections page with the status ‘Login Successful.’ Use this screen to edit any of the details associated with a connection, or delete it.
After the initial set up, Fetch will collect any documents already present in the supplier portal and post them to the client’s inbox within 48 hours. Following that, Dext Prepare will check for and download any new documentation from the portal on a weekly basis.
Occasionally your Fetch connection can be disrupted (e.g. if you change your password or set up 2-factor authorisation). If this occurs, a user will receive an email and a warning message will be clearly displayed in the ‘Connected Suppliers’ page with instructions on how to resolve the issue.
How to fix incorrect log-in credentials error
This error occurs when setting-up a fetch connection and making a mistake during the process.
The log-in credentials for the supplier portal need to be exactly the same when entering them on Dext Prepare.
Common mistake include
- Selecting the wrong URL – there are suppliers that have different websites for different regions for example amazon.co.uk and amazon.de. There are also supplier portals that have different links for Personal Accounts and Business Accounts for example home.bt.com and business.bt.com
- Wrong username – please check whether the supplier portal is using a username (e.g user123456) or an email address (e.g user123456@mail.com). Also usernames are case sensitive so be aware of automatic capitalisation (e.g User@email.com instead of user@email.com)
- Wrong password – passwords are case sensitive and also have issues with spacing. Ensure the password does not have any extra spaces before and after entering the information.
- Using Single Sign On (SSO) – if using SSO for any supplier portal this requires a different connection to be established in order to utilise the SSO. Either use an email and password to log-in or request a fetch connection for your desired supplier portal and SSO method.
How to send a request for your client to connect to a supplier
1. Search for the supplier that you require, or use the suggested suppliers list, and click on the Ask client to connect button
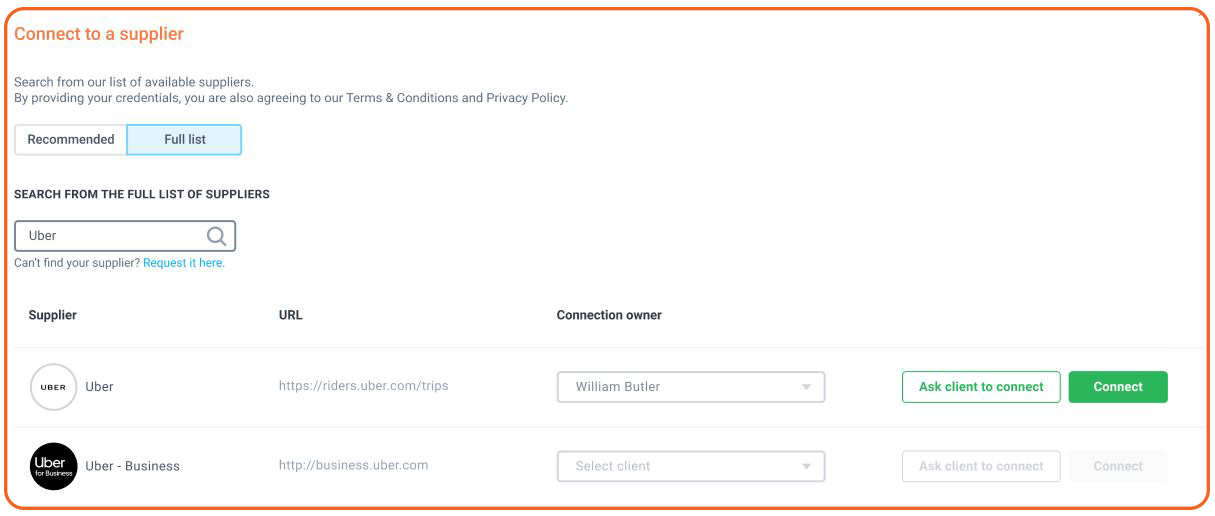
2. A confirmation box will appear and click yes to send an email to your client.
3. Your client will need to click on the Connect Supplier button in the email and log-in to Dext Prepare to see your request.

4. Your client will now click Connect to start the connection process:

- A popup will ask them to keep the tab of their browser open while Dext Prepare completes the connection.
- If Two-Factor Authentication (2FA) is required, another popup will prompt them for the additional information. This is usually an SMS or email message with a one-use code. They need to enter this code and click Send.
- Once successful, an email will be sent to confirm the client has connected to the supplier.