QuickBooks Desktop provides a variety of different publishing destinations to publish your items to, as well as allowing you to use category codes and supplier lists from the company file. These are supported in Dext Prepare for seamless integration.
Important: To be able to publish an item to an accounting software you must have Administrator level User Privilege access, or be given user privilege access to publish to an accounting software by your administrator. To gain this access contact your account administrator.
1. Publishing cost items with products and services
2. Selecting Publishing destinations
3. Publish your items
Notes: The QuickBooks Desktop integration is available in the United States and Canada. For more information please contact your Account Manager.
To link your payment methods from QuickBooks Desktop to Dext Prepare, please follow the instructions in this article .
Only the user who set up integration will be able to publish items to QuickBooks Desktop. Other users can still upload, view, or edit items via the Dext Prepare web application.
Once you have integrated your company file on QuickBook Desktop with Dext Prepare via the Dext Connect app, select the ‘Edit in web‘ button within Dext Connect to take you to the Dext Prepare web app. You can also login to your Dext Prepare account via your usual web browser in order to do this.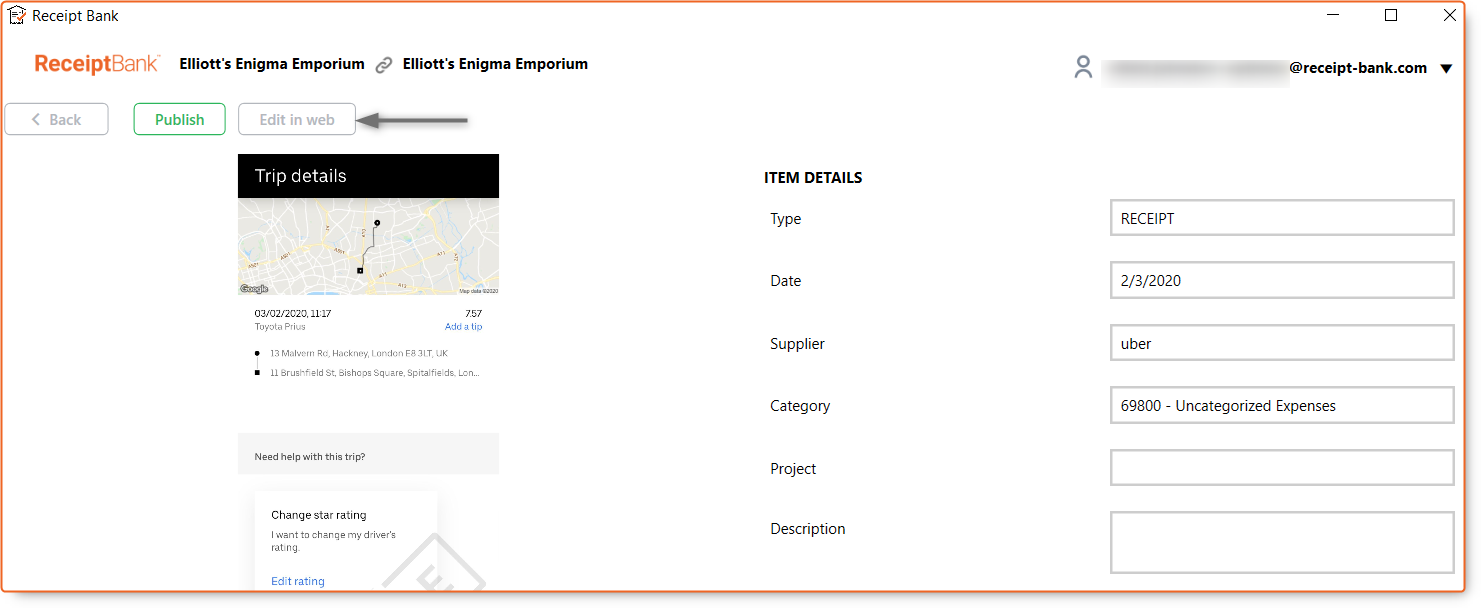
Click on the Edit in web button in the Dext Connect app to make needed amendments to your item on the web application before publishing.
Dext Prepare automatically pulls all the category codes and supplier lists from the company file. However, you may need to allocate specific codes or details in case this has not been done via the OCR. In this case, select the relevant drop-down fields to allocate them. Next, select your publishing destinations for each item.
1. Publishing cost items with Products and Services
Assign a product or service to the cost, or to the line items associated with that cost.
To add a Product or Service to an item follow these steps:
1. Go to the ‘Costs’ workspace, then click on the desired item
2. On the ‘Item details’ page, scroll down to find the ‘Product/Service’ drop down menu and make your selection
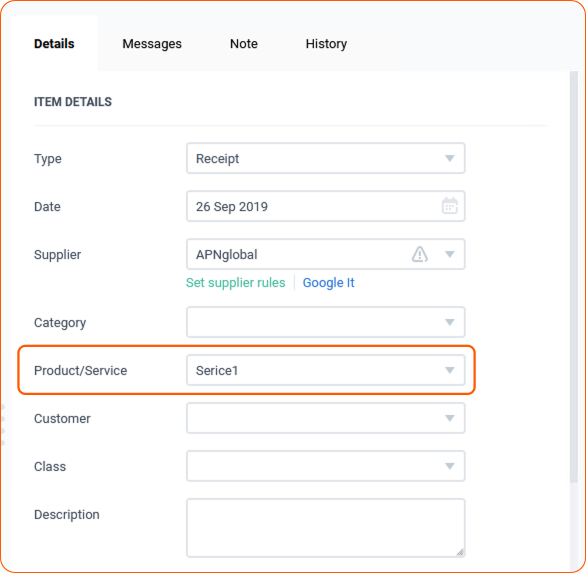
If a product has been selected, you will also be able to input a quantity.
2. Selecting Publishing destinations
Publishing destinations are places in QuickBooks Desktop where an item will be published from Dext Prepare. Please be aware of the different publishing destinations we support:
- Credit Cards
- Cheques/Debit Cards
Bills are one of the most commonly used destinations. They will create a paid or unpaid bill in your QuickBooks Desktop file. Bill payments available in QuickBooks Desktop are credit card charges and cheques.
When you are selecting a payment method that is linked to a bank account, we will create a cheque payment. When a credit card is selected as a payment method, we’ll create a credit card payment for this bill.

Marking a payment as a Bill within Dext Prepare web app
Credit Cards
If you select this publishing destination, we will only create a Credit Card charge in your QuickBooks Desktop and no bill. This transaction can only be created as ‘paid‘ and the payment method can only be of a type ‘§‘. You can use vendors listed under ‘Other names‘ with these transactions.
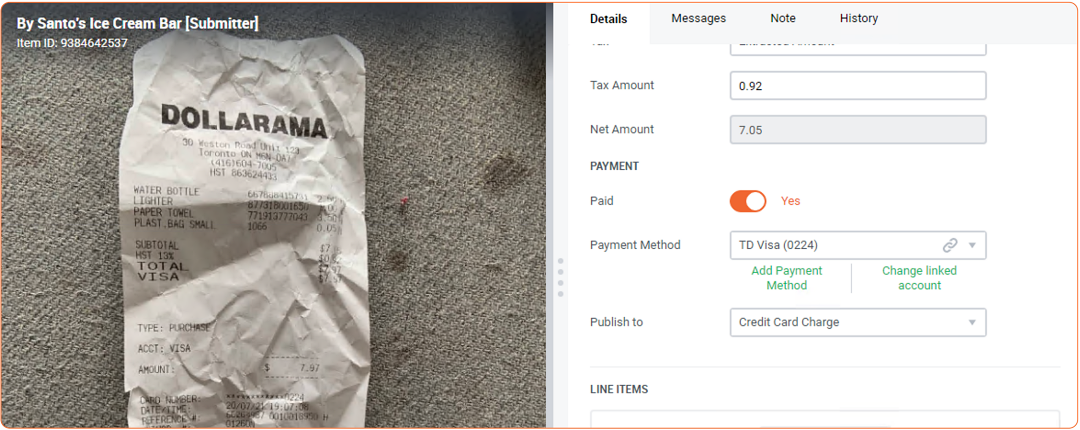
Marking a payment as a Credit Card in Dext Prepare web app
Cheques/Debit Cards
Using Cheque functionality in Dext Prepare will allow you to publish transactions paid by cheques, but also to create Debit Card transactions. For this, select a debit card when selecting the payment method for the transaction. Only payments linked to a bank account can use this publishing destination.
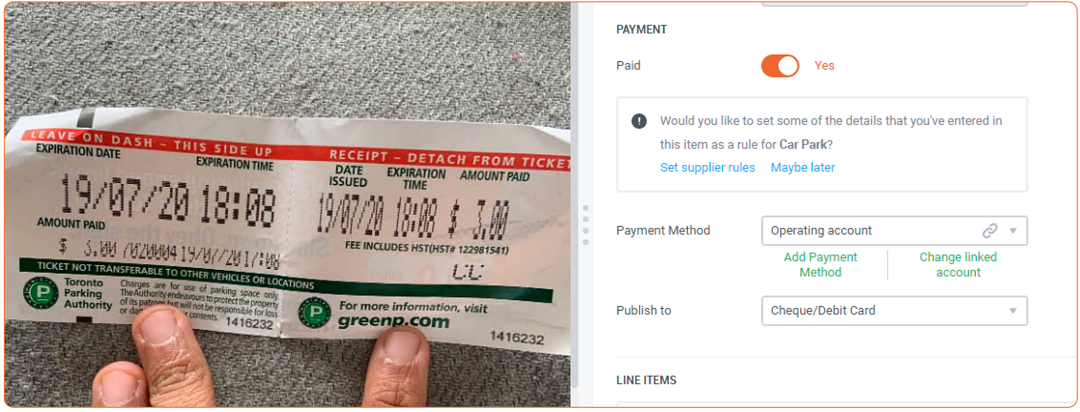
Marking a payment as Cheque/Debit Card in Dext Prepare web app
After selecting these and finishing off editing, you are ready to publish your items back into QuickBooks Desktop via the Dext Connect app.
3. Publishing your items
Once you have selected the Publishing destinations for your items:
- Return to the Dext Connect app on your desktop and open the relevant workspace (whether Costs or Sales).
- Select the ‘Publish‘ button in green on the right-hand most column, or for multiple items, select the tickbox in the left-hand most column.
- Select the ‘Publish‘ button in green above the item list.
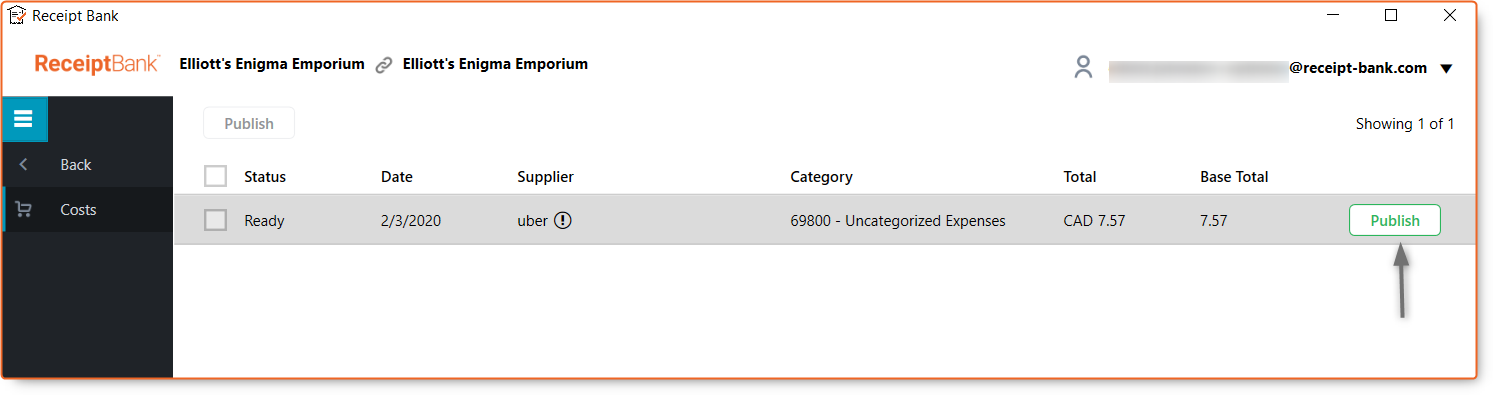
Select the Publish button within the Dext Connect app to publish to QuickBooks Desktop.