You can create additional users on your Dext Prepare account, or invite existing users to your team.
Important: Only Admin users can view the My Team/Users page and add new users. If you don’t have this access reach out to your administrator, accountant or bookkeeper to assist.
When you add a User or Colleague, you have the option to skip the invitation to invite the user to access the Dext Prepare account, or to invite them to access the account themselves with a specific level of User Privileges.
A user added solely as a Document owner can be selected as the owner of a document, and to submit items via their unique email in address, but will not be invited to access the Dext Prepare account for themselves.
Users that are invited to access the account will have the ability to submit, view and edit paperwork depending on their User Privilege level. You assign this level when the user is created and can change it at any time.
Plans & User limits: there may be a limit on the amount of users your account can have depending on which Dext product you use. Learn more about the different account types and features here.
If you’re an admin user you can purchase additional users or upgrade your user bundle plan in app, by going to My Profile > Subscription.
Adding a New User
To add a new or existing user:
- Scroll down to the Manage section on the sidebar menu
- Click into MyTeam
- Click the Add a user button for a single user. Or for adding Add multiple users in bulk follow the instructions here.

- Complete the details for the person you want to invite to Dext Prepare.
If you click Skip Invitation, a user will be created and will be able to submit documents via their unique email in address, as well as be assigned to a document as a document owner, however they will not be able to access the Dext Prepare account themselves via the mobile or web app.
If you DO want to invite the user to access the Dext prepare account to have full visibility of their transaction data and use the various submission methods available via the web and mobile apps to add documents; add the user’s name and email address, then click Continue.
Note: You can invite the user at a later date by going to My Team > Manage > Invite and following steps 5-7 below.

- Choose what level of User Privilege the user should have – Administrator, Expense Approver, or Basic. To learn more about the levels of user privilege click here. Then customise any extra access options.

- Choose whether to send an invitation to the new user via email or sms text message.
- Then click the green Add User button.

The user will then receive an invitation by email or text to join your business:
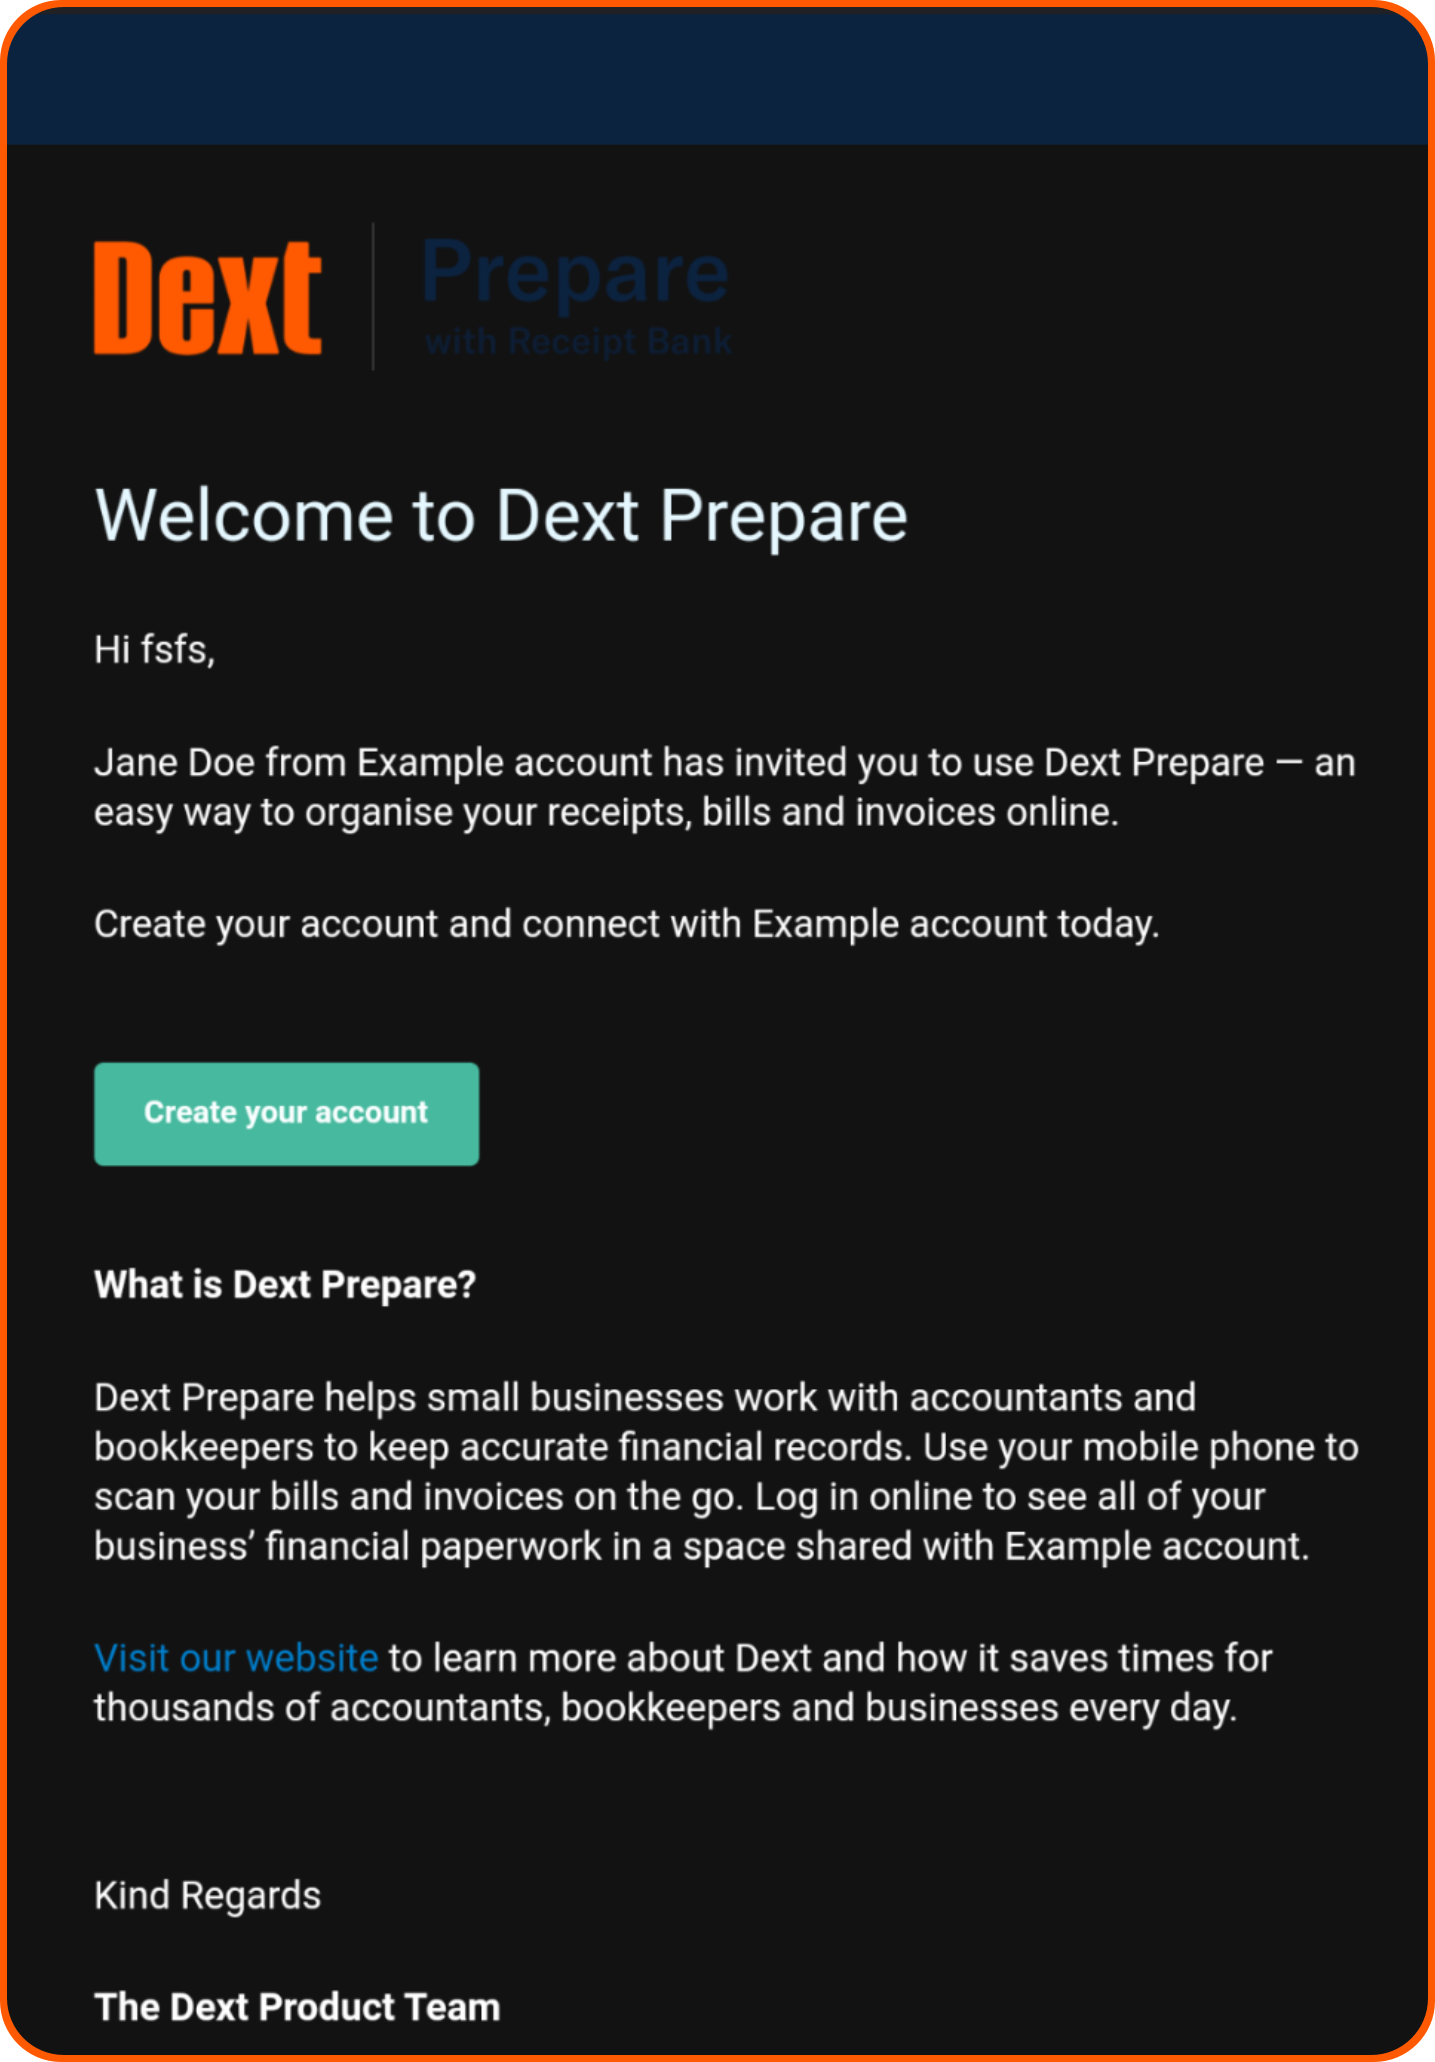 | 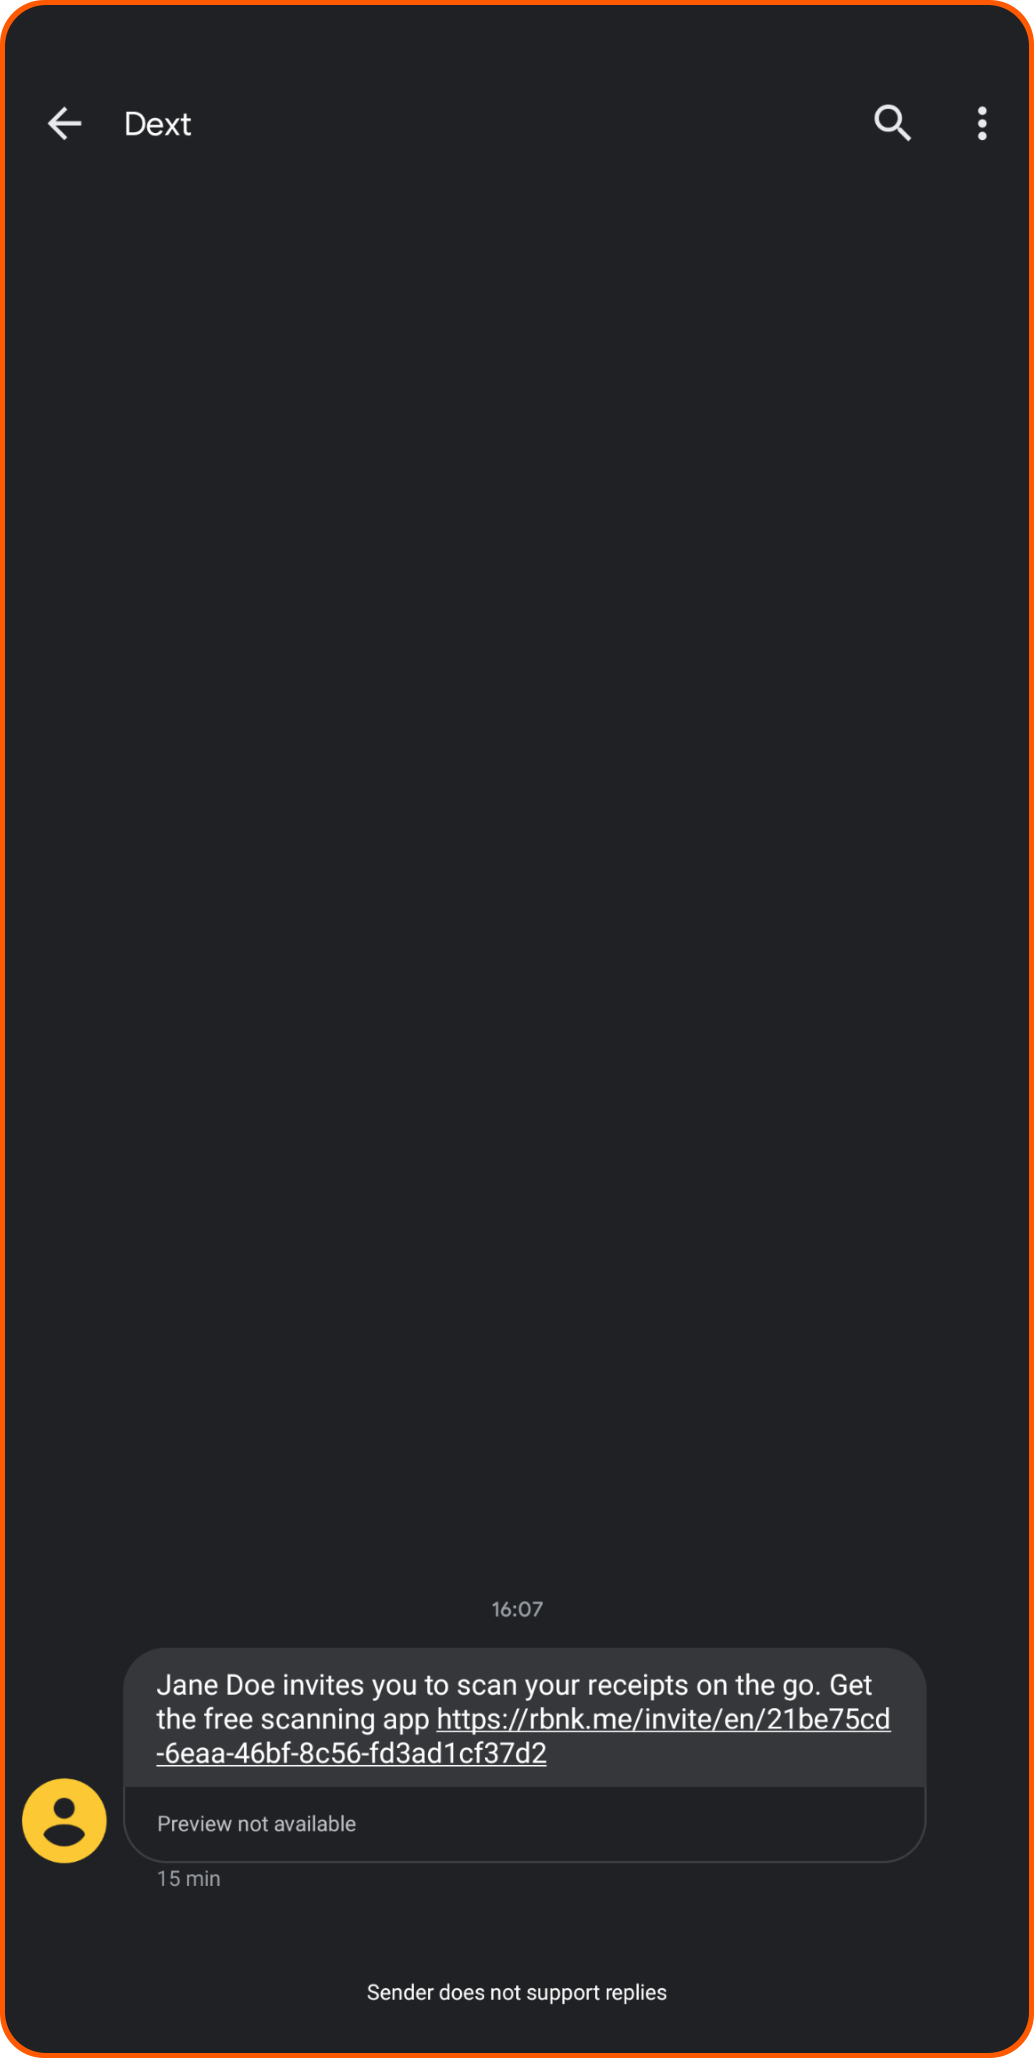 |
| Example of Email Invitation | Example of SMS Invitation |
If you’ve invited an existing user to your team:
- If the user you’ve invited has already verified their email address they will automatically be added to your account and they will see the account switcher when they next log into their account.
- If the user you invited hasn’t verified their email address yet, their invitation status will show as ‘Pending invitation’ on the My Team page. The invitation will be active for 1 week.
- Users with unverified email addresses will be created as document owners only until they accept the invitation. This means that you will be able to submit documents on their behalf but they will not be able to do so themselves, or be able to see the account switcher, until they accept the invitation. If they accept the invitation it will also verify their email address.
Edit User Privileges
Once users are added to your account you can update and edit their privileges from the My Team page.
- Scroll down to the user you want to edit and click on the Manage button.
- Then select Edit User Privilege.
